With only four full days left before we fly out its time for packing our bikes for air travel. This is our first ever bike tour and the first time we’ve ever had to pack bicycles into boxes. We’re flying with Qatar Airways from Dublin to Auckland. In an ideal world we’d start our bike tour from home, but as first time bike tourers, we’re not brave, or crazy, enough to ride the 150 miles from Portrush to Dublin in mid-November! Plus the logistics of packing boxes at the airport is too much to think about for us first-timers.
So today has been spent dismantling the bikes, deflating tyres, taping, tying, weighing, and packing to fit everything in and keep within the weight allowance.
Weight Allowance
One of the reasons we have chosen to fly with Qatar Airways is the fact they offer a 30kg per person luggage allowance with no limit on the number of pieces. The bike boxes are accepted as part of that luggage allowance, not an additional charge as with so many other airlines we looked at.
The hand luggage allowance is one piece at no more than 7kg per person.
Another reason to go with Qatar was the ability to fly direct from Dublin to Auckland with only one connection in Doha which should minimise the amount of baggage handling.
Bike Boxes
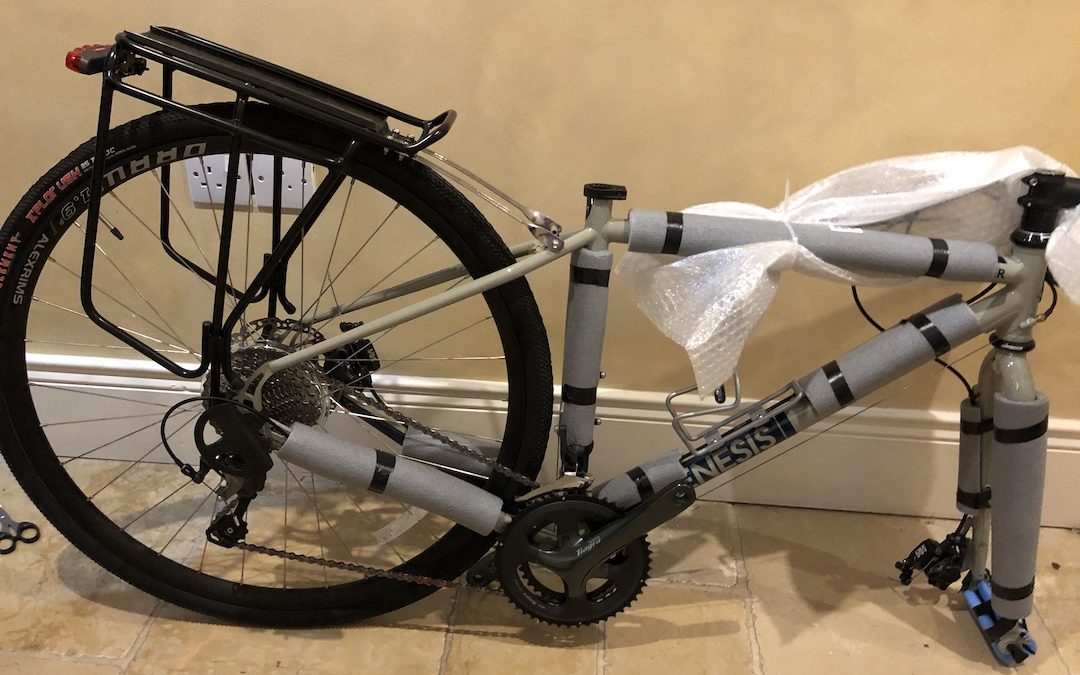
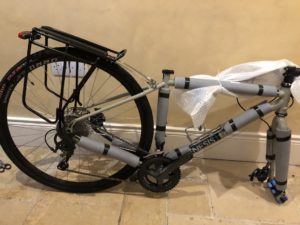
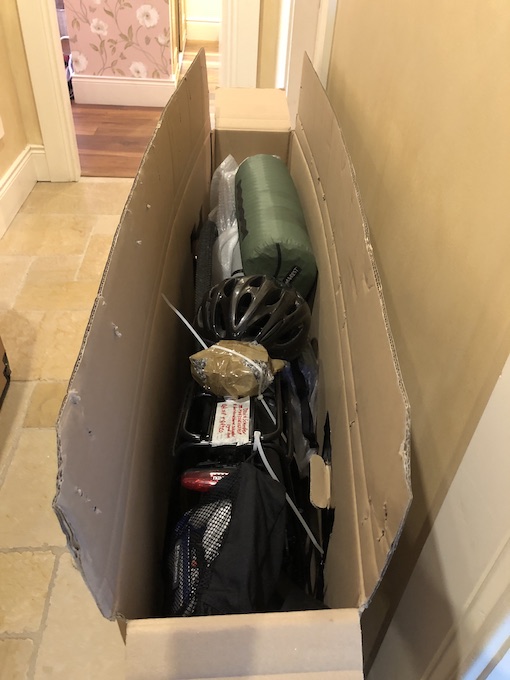
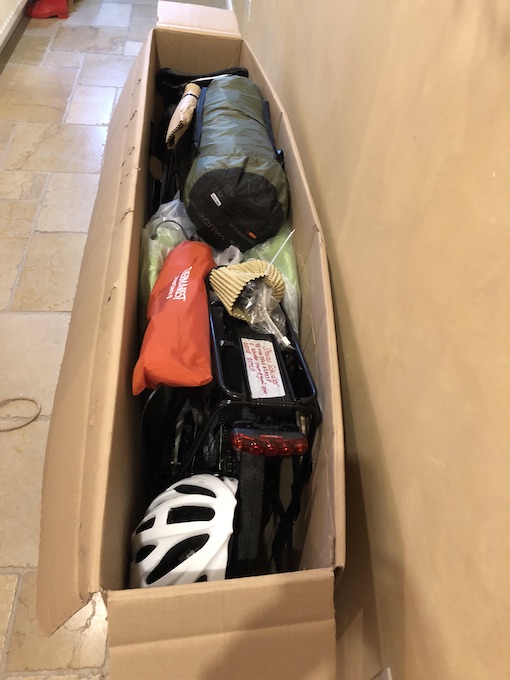
We are using standard cardboard bike boxes from our local bike shop. To fit each bike in a box we have removed the pedals, the wheels, and the seat post and saddle. We deflated the tyres. We’ve turned the handlebars sideways. We covered the main tubes of the bike frames with foam pipe lagging to protect them in transit, and bubble wrapped the pedals and seat. We filled the bike boxes up with our panniers (the two large ones), front racks, helmets, bike shoes, locks, tool kit and camping gear to act as padding to minimise movement and damage in transit.
The boxes are weighing in at about 23kg each.
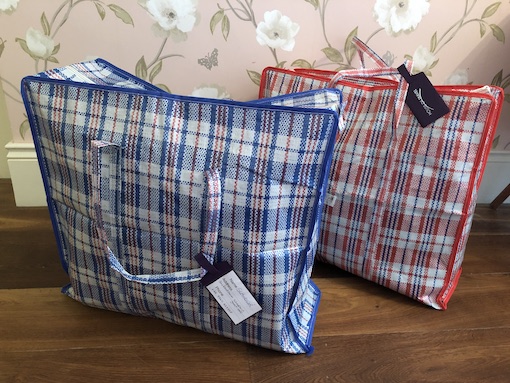
Worldwide shopping bags (WWSB)
In addition to the bike boxes we have what we call a “worldwide shopping bag” each. You know the blue/red/white checked bags you find at every market worldwide, that’s what we’re talking about! They will go as part of our 30kg checked luggage allowance.
In these bags we’ve packed the smaller panniers, our handlebar bags, our biking clothes and the camping kitchen (pots & pans, plates, cups, cutlery), plus the all important luxury of the trip – collapsable wine glasses!
They’re weighing in at about 5kg each.
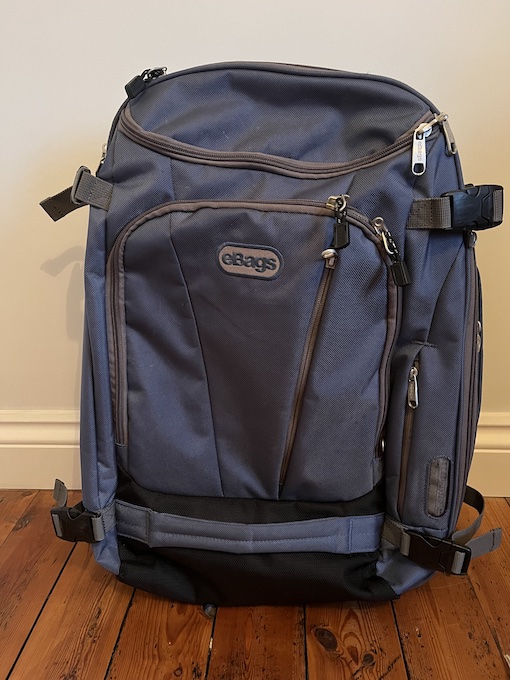
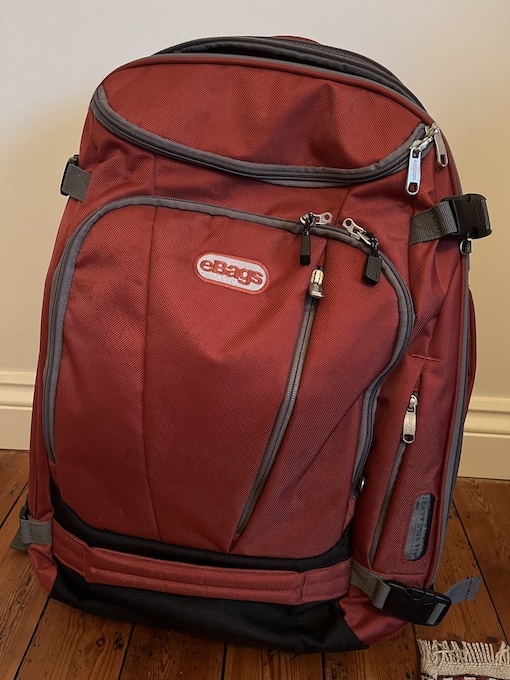
Hand luggage
We’re using our eBags for our running gear and clothes that we need for the non-biking part of this trip. We’ll be leaving the bikes in Auckland on arrival, then spending the first couple of weeks of this trip in Queenstown before returning to Auckland to start the bike tour. We can leave our hand luggage, empty bike boxes and the WWSBs with a friend in Auckland while we’re on the bike tour.
Packed & ready
That’s the packing of our bikes for air travel done. We think we’ve kept under the 30kg limit, but its pretty close, fingers crossed we’ll get it all through as it would be an absolute nightmare to have to repack in the middle of Dublin airport.
Sunday morning will be the final session of taping, and if possible we’ll get the WWSB’s security wrapped at the airport.
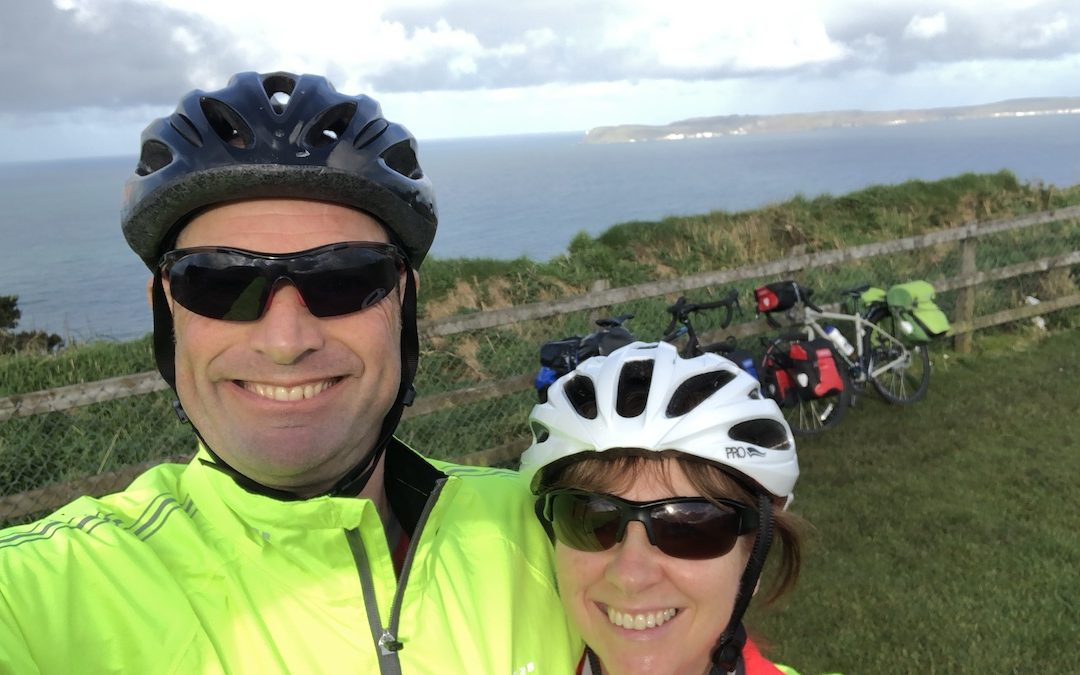
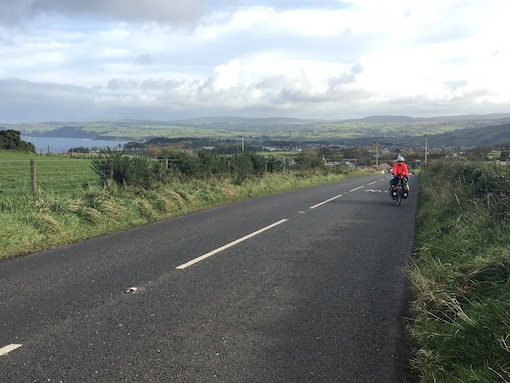
Today was the day we packed the panniers and went for a bike touring practice ride pretty much fully loaded. No doubt we will change things around as we go, but a ride just short of 60km from Portrush to Ballycastle, and back, gave us an idea of how the bikes (and us) will feel on an average day of bike touring.
Distances
We’re guessing that our average daily distances on our upcoming bike tour of New Zealand will be something around 60-80kms, with some days a lot less, and others a lot more. Bearing in mind its going to be summer time in NZ we should have plenty of hours of daylight to get from A to B. How long it takes will depend on the terrain and the weather. Fingers crossed for as many downhills and tail winds as possible!
Luggage
We have two rear and two front panniers each, plus a handlebar bag each. The front panniers and handlebar bag certainly make the steering feel much heavier, but it was surprisingly quick to get used to it. The rear panniers were not full today, but the space will be used for the all important food we’ll need to carry.
I carried the tent today, but that will probably change to Dave’s pannier. It didn’t take long to realise that he is always going to be ahead and will be arriving at the campsites first. If he has the tent with him, he can have it set up by the time I arrive!
Gears
Gears are a slight concern – are we going to have enough??? We had one or two spare today on the Causeway Coastal Route, but that might not be the case on the hills in New Zealand.
Rears
Our rears are the other big issue – big as they are, our saddles are not, and even with the padded bike shorts we know consecutive days in the saddle, particularly the first week, is going to be a challenge, but we like a challenge so bring it on!
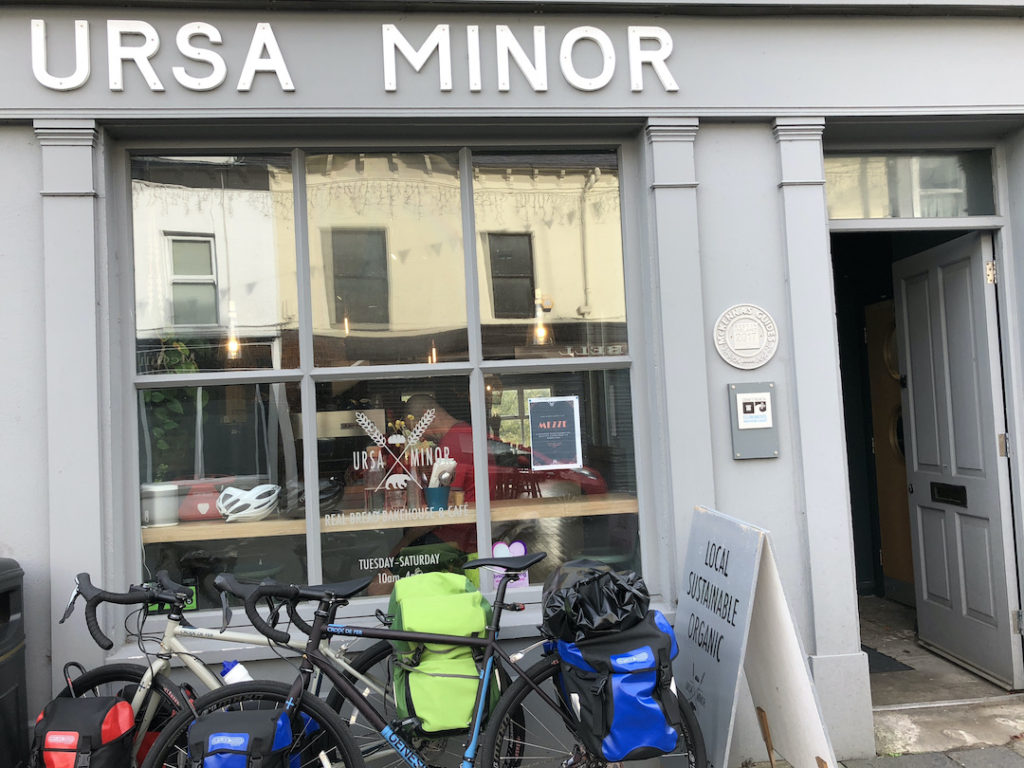
Naturally we had to practice a refreshment stop too – no better place than Ursa Minor in Ballycastle for fuelling up.
That’s the dress rehearsal done for our first ever cycling holiday, next up will be the real thing in New Zealand.
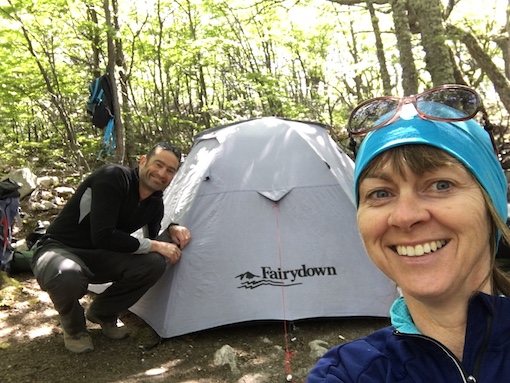
Perhaps it’s an age thing, but when choosing a tent for bike touring, our first prerequisite was space, closely followed by weight, and not forgetting budget. Our old faithful Fairydown 2 person tent that we bought in New Zealand in 2001 has served us well, but after taking a hammering in the winds of Patagonia last year we have had to retire her to sunnier climes and car boot camping only.
This post contains affiliate links. As an Amazon Associate we earn from qualifying purchases. More info in our Privacy Policy.
Our tent selection criteria
Space – we now want a tent that has comfortable space for the two of us, plus has the capacity to store our bike panniers inside the tent.
Size& weight – we want a tent compact and lightweight enough to carry on the bike, and with the option to use it for backpacking trips too.
Durability – we want it to be at least a three season tent to withstand wet and cold weather as well as summer conditions.
Budget – and we want all of the above features without having to spend a fortune!
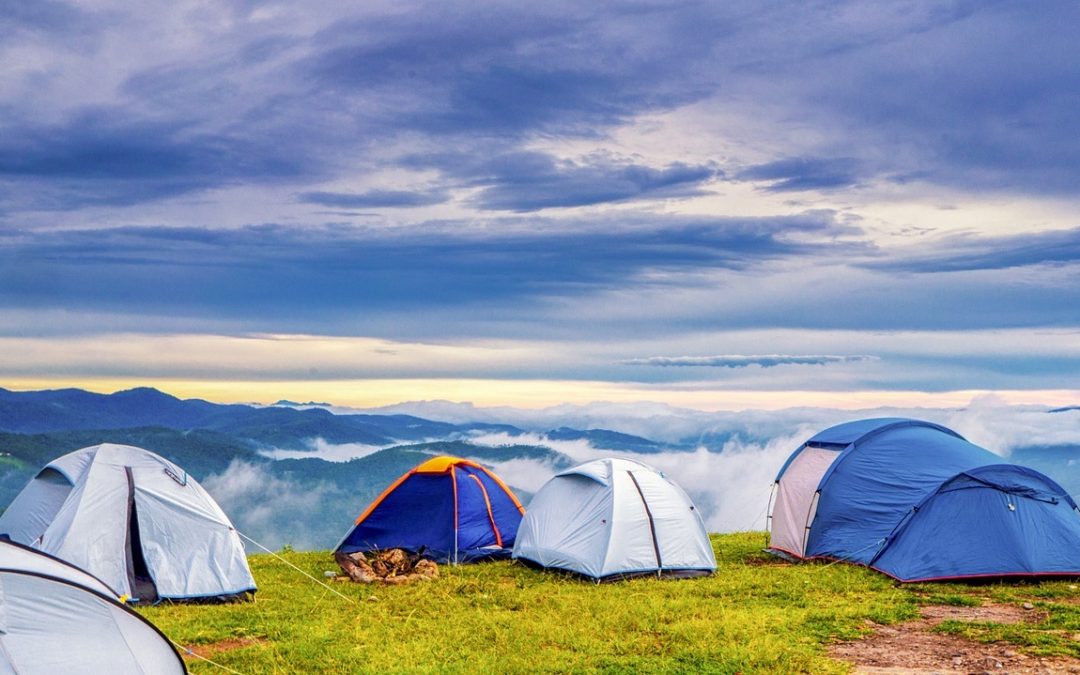
Meet Olive
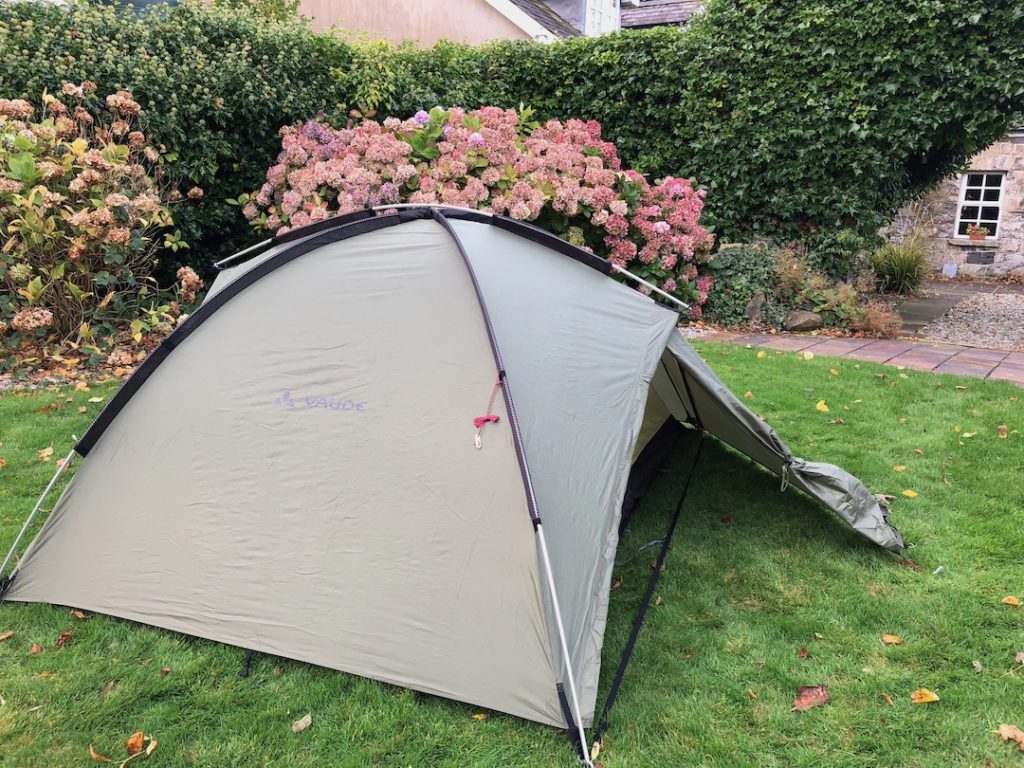
It took a bit of shopping around, but we eventually found “Olive” who fitted the bill perfectly!
Weighing in at less than 3.5kg with a pack size of only 50 x 20cm, Olive is a Vaude Terra Space 3 person tent. The upgrade from 2 person to 3 person means we have slightly more space inside the dome, especially useful on wet weather days! And there is enough room in there for our panniers and bike gear.
We each have our own entrance and good sized porch making it easy to get in and out without climbing over each other. And all for 180 quid which we feel is good value considering the price range of a tent suitable for bike touring was averaging between £200-£500!
How she performs remains to be seen as today (our 20th wedding anniversary!) was only a practice pitch in the garden and the naming ceremony! The christening has yet to come…
A tool kit is an essential for any bike tour. There are some must have items we will need to carry with us in New Zealand in order to deal with basic maintenance and minor emergencies.
The advantage of travelling as a pair means one toolkit will suffice for both of us, especially since the bikes we chose for our first foray into bike touring are the same brand with much the same specification. One tool kit will help to keep the luggage to a minimum!
This is the essential tool kit for our bike tour that we’re starting with, whether we need more when we’re on the road in New Zealand, we’ll wait and see:
(This post contains affiliate links. As an Amazon Associate we earn from qualifying purchases. More info in our Privacy Policy.)
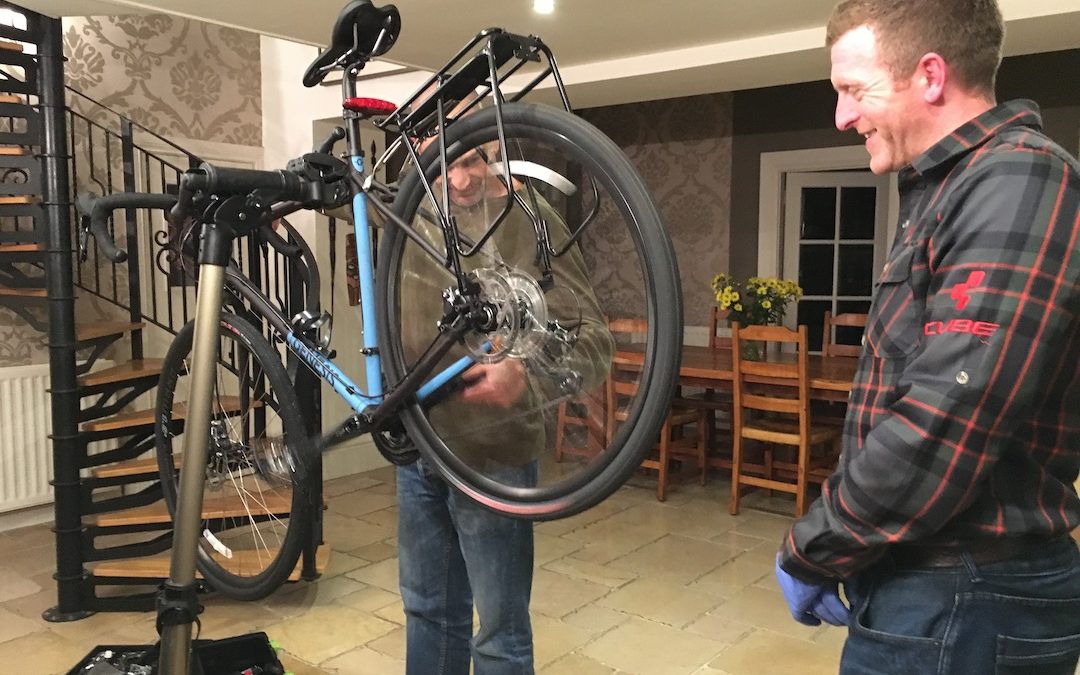
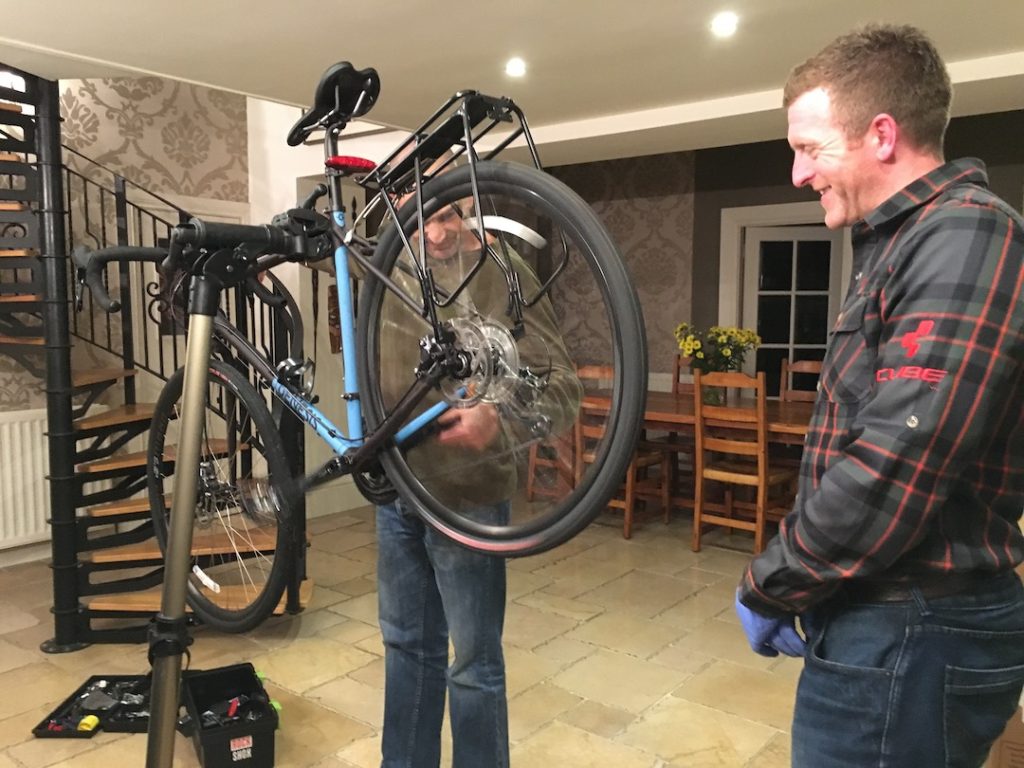
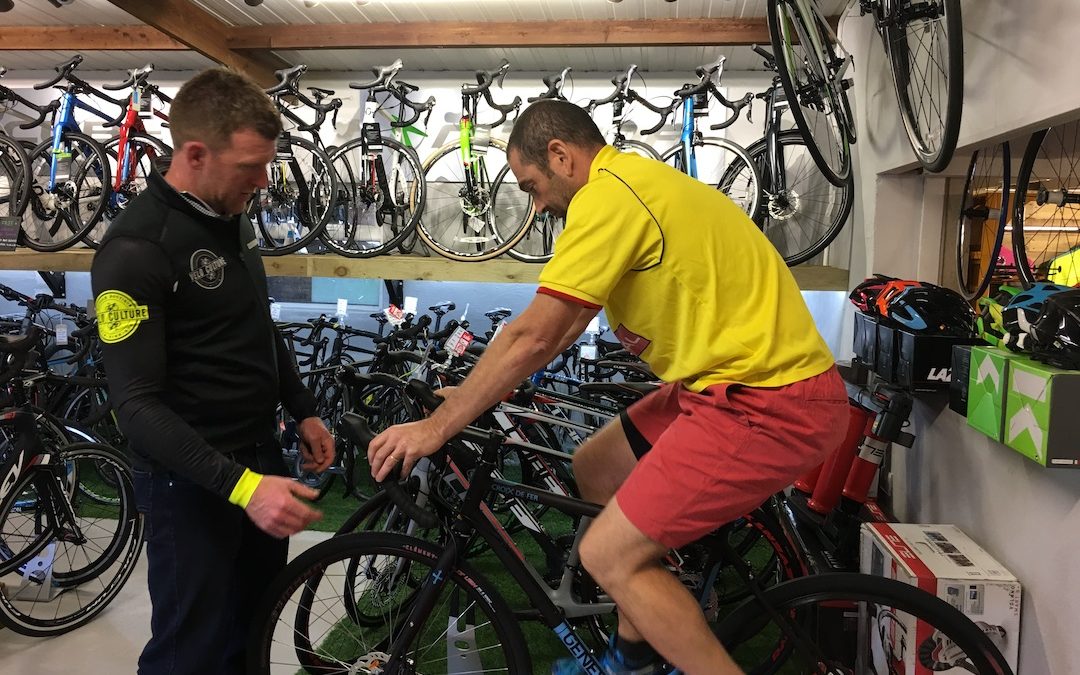
Derailleurs, spacers, speed-links, cartridges and cassettes were all double Dutch to at least one of us (no guessing who!). That was until tonight. Now after a crash course in basic bike mechanics thanks to Steve from Velo Culture, Dave will be able to fix any minor emergency on our New Zealand bike tour, while I watch on and pass the tools! Failing that I will call the nearest bike shop for help.
Choosing touring bikes for our first ever cycling tour to New Zealand was a tad daunting. It took a bit of time and lots and lots of research!
It didn’t take much to work out that our current battered and shattered old mountain bikes, and our road racing triathlon bikes, wouldn’t do the trick for this trip. And a tandem is definitely out of the question. Our first, and only day on a tandem on Rottnest Island, Western Australia in 2001, almost ended in divorce before a foot had even hit the pedal! We know it’s touring or adventure bikes we’re after.
Touring Bikes
There is of course no such thing as the perfect touring bike, but our first two priorities for this trip are comfort, and having the ability to pack the bikes in boxes to transport them. We need the bikes to be able to carry us and our luggage in some level of “comfort”. We need to be able to pack the bikes (including racks and panniers) for airline travel.
What to consider before choosing a touring bike
Before choosing the right touring bikes for us we had to consider the following:
The distances we intend cycling each day
The amount of luggage we needed to carry
And what terrain we would be riding on
We wanted strong enough bikes that could take us anywhere, on road and off-road, but light enough to keep us within the airline weight restrictions. And if we’re serious about bike touring we want the bikes to last us a lifetime!
Frames
As much as we’d love to choose a titanium frame for its lightness, we cannot justify the expense. Carbon frames are also really light, but knowing how easily they can crack, they’re just not sturdy enough for our needs. Steel is the obvious choice for us – although it is heavier than carbon or titanium, it is strong, affordable, and can be welded easily should the need arise.
Genesis Croix De Fer
After a bit of our own desktop research, and very helpful advice from some serious cycling friends, we called in with the experts at Velo Culture, our local North Coast bike shop in Portrush.
To keep things as simple and straight forward as possible we thought it best to each pick the same bike brand/model. This should mean that the specifications and mechanics are much the same on each bike. Plus it will keep tools and spares to a minimum. Gotta travel as light as possible!
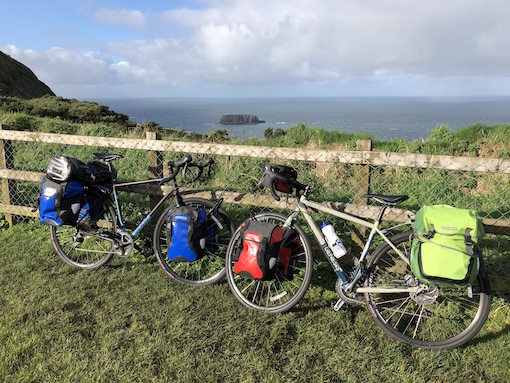
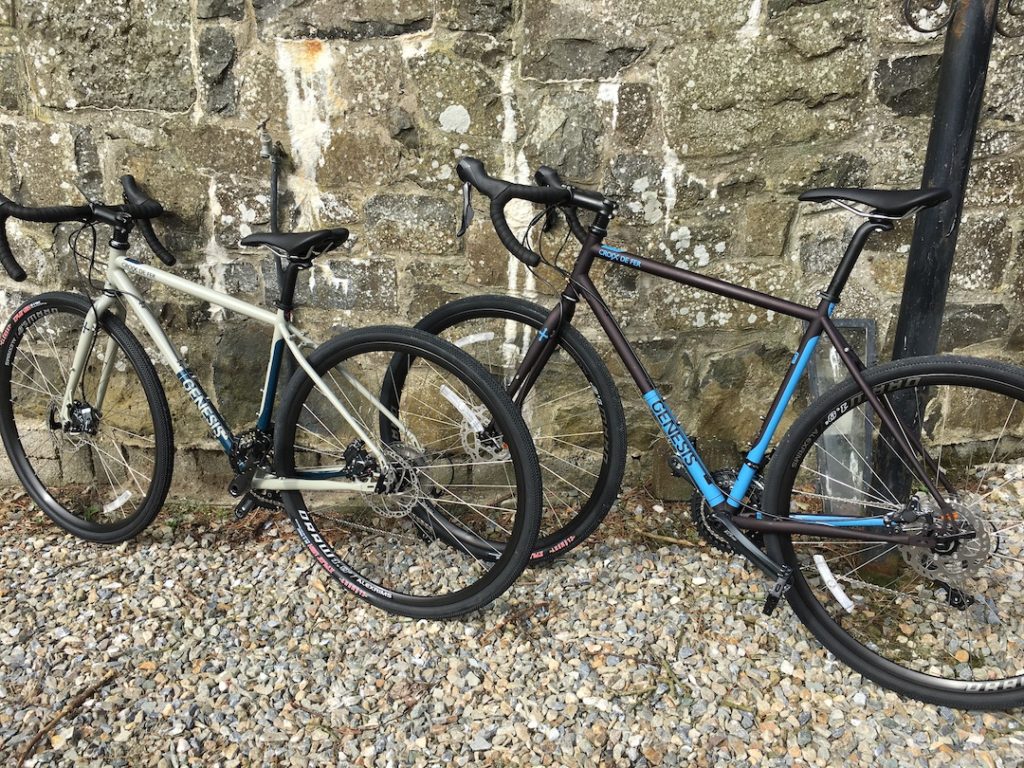
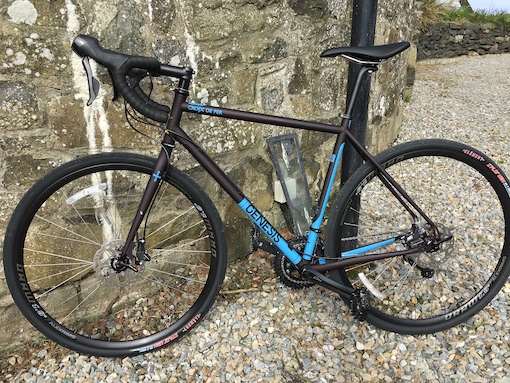
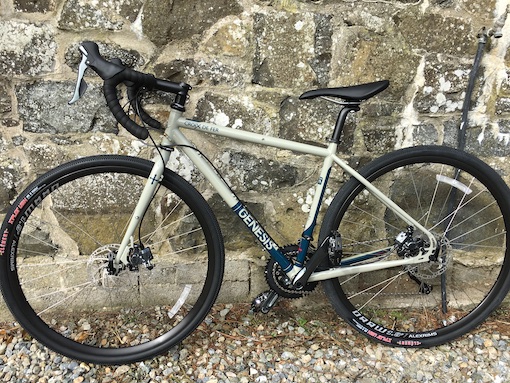
Not being fussy on having to have the latest model, we’re content with last year’s models so have gone with a pair of 2016 Croix De Fer, hybrid touring bikes made by Genesis Bikes UK. Dave’s is a Croix De Fer 30 M, and Shaz has the Croix De Fer 20 XS.
L: 2016 Croix De Fer 30 R: 2016 Croix De Fer 20
The colours may not be our first choice, but we’ll live with that! Having enough gears is more of a worry at this stage as there’s likely to be a few hills to climb in New Zealand!
Test Ride
A 36km ride out to Whitepark Bay and back got the wheels in motion and was more than enough time in the saddle for the first day! The thought of consecutive days in the saddle is not the most appealing at the moment, but surely we will toughen up as the tour goes on??
Test ride to Whitepark Bay on our new touring bikes
No its not an April Fools joke! The time is right to start planning our long overdue return trip to New Zealand.
A wedding invitation from our good friends Matt & Gilly is one we’re not going to turn down, and it’s as good an excuse as any for us to return to the land of the long white cloud since leaving its shores back in 2012.
We’ve often talked about a bicycle touring holiday as an adventure we’d both like a crack at, and here’s hoping this is the opportune time to give it a go!
Having lived in New Zealand for 12 years, we’re familiar with the country, the culture, the customs, and the climate. We know the geography and the topography (which of course might come back to haunt us when we hit the first big uphill!). We can speak the language (roughly), and read the road signs, and it will be summer (we hope) when we get there. All up it seems a perfectly logical choice of destination for a first-time bicycle tour…
Except maybe for the fact that it is almost 12,000 miles away, and we’ve never had to organise the logistics of taking two bicycles on an aeroplane before!
Hi, we're Sharon & Dave an active and adventurous Irish & English couple who've been travelling together for more than 20 years. These posts are our travel stories and personal journeys. Follow our adventures to see where we've been and where we're going next!
Pin It on Pinterest
Loading Comments...
We use cookies to ensure that we give you the best experience on our website. If you continue to use this site we will assume that you are happy with it.